We are next going to make the board into an Arduino.
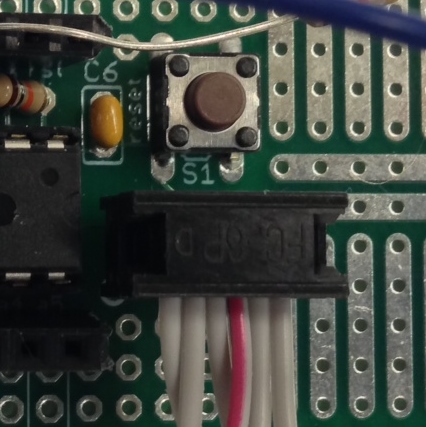
Plug in the AVRtiny programmer to the board and the USB connector. Make sure that you use the 6 pin connector and that it goes on in the right way.
Fire up the Arduino IDE.
Change some settings:
-Go to Tools...programmer...USBtinyISP
-Make sure that the "Arduino Uno" is selected.
Next, add the Arduino bootloader (to make it think it is an Uno!)
-Run Tools....burn bootloader
Wait until it finishes (this takes ~2 minutes). There is a tiny message on the bottom of the interactive feed window that will tell you when it is done, but the program will otherwise be frozen until it finishes.
When you load a sketch, you can program it (like any Arduino) via File...Upload using programmer
Check the functionality of your system using a blinky program. Cut and paste this into a sketch and program it to the target board. (source)
/*
Blink
Turns on an LED on for one second, then off for one second, repeatedly.
This example code is in the public domain.
*/
// Pin 13 has an LED connected on most Arduino boards.
// give it a name:
int led = 13;
// the setup routine runs once when you press reset:
void setup() {
// initialize the digital pin as an output.
pinMode(led, OUTPUT);
}
// the loop routine runs over and over again forever:
void loop() {
digitalWrite(led, HIGH); // turn the LED on (HIGH is the voltage level)
delay(1000); // wait for a second
digitalWrite(led, LOW); // turn the LED off by making the voltage LOW
delay(1000); // wait for a second
}
Is the LED flashing? Great! You're ready for the next step.
